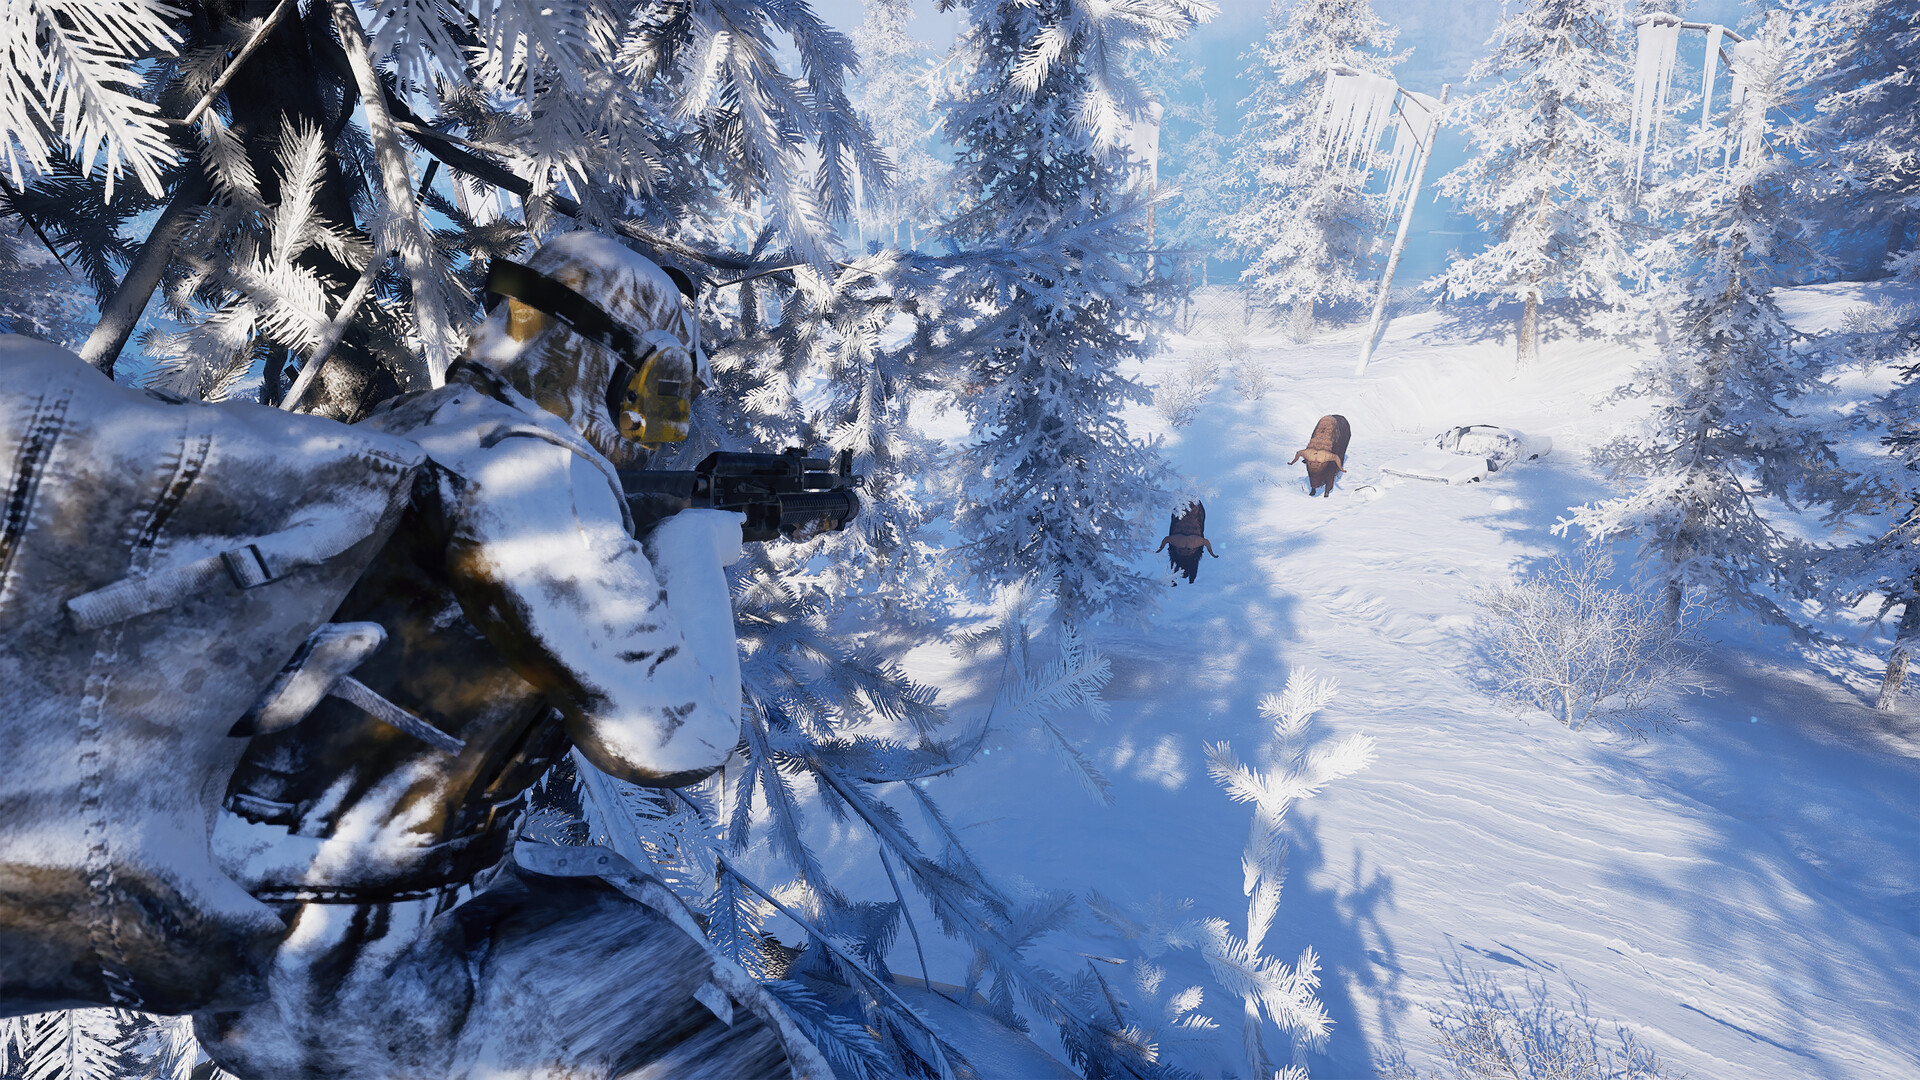
What transport should you use now?
For the October 11 Early Access build, plan travel around walking and unlocked sled fast-travel posts; additional vehicles belong to future development. The vehicle plans give no snowmobile quest, crafting recipe or unlock prerequisite to follow, so focus on expanding your travel network.
How snowmobiles fit progression
The Early Access vehicle plans describe further development without setting out a snowmobile access date or acquisition route. Do not make snowmobile access a requirement for your next journey. Put materials toward the objectives and recipes available to you instead of stockpiling for an assumed vehicle repair.
Snowmobile Promise appears among the world's recordings and notes. Its name alone should not send you searching for a vehicle recipe or repair location. Read it as you explore, then follow the instructions your active objectives actually give you.
Progression comes through exploration and adaptation, including restoring abandoned shelters, repairing broken machines and reclaiming technology. Prioritize work that helps you push deeper into the world. A dependable shelter and an unlocked return route are useful goals when planning your next expedition.
What you need for sled fast travel
You must unlock both your departure point and destination in person before a trip works. No items or Bucks are required at either end. Take food and warmth supplies for the initial walk to each new post, then use the network for return visits.
Combat and severe snowstorms block fast travel. Keep somewhere to shelter in mind before relying on a return trip, and avoid treating a post as an escape during a fight. If travel is refused, finish or leave the fight, or wait for the storm to clear before trying again.
Where to expand your travel network
Look for a wooden post with a sled as you explore. Each post only needs to be unlocked once, after which you can travel between the posts you have unlocked. Solar Fields is the travel-post label associated with the Solar Power Plant, so keep those names together when planning a route.
| Travel post | Where to look |
|---|---|
| Horizon fast-travel post | At Horizon, the first safe zone reached through the cave from the starting ravine. |
| Solar Fields travel post | At the Solar Power Plant safe zone. |
| Church fast-travel post | Outside the Church, on the snow in front of the entrance steps. |
| Crow's Nest travel post | At the Crow's Nest safe zone. |
| Last Stand travel post | At The Last Stand safe zone. |
Unlock a post and make a sled journey
- Approach the wooden signpost, notice board and sleds outside the Church's front steps until the “Fast Travel: Church / Press F Unlock” prompt appears.
- Press F at the Church post to unlock it; the interaction changes to “Press F Travel” and the point becomes available on the map.
- Press F at an unlocked post when “Press F Travel” appears to open the destination map.
- Select another unlocked destination's sled symbol on the map to choose where you want to travel.
- Choose Confirm to start the journey and arrive beside the sleds at your selected destination.
Keep your dog following when you leave: it joins you at the destination with its carried items still stored. In-game time continues advancing during the travel transition. Allow for that passing time when deciding whether to head straight into another expedition.
Carry supplies efficiently on foot
The dog gains its own storage container after joining you in Dog Days. Use “Press F Check container” on its pack to transfer stacks into that separate storage. Share your haul so your own backpack has room for the supplies you want to keep close during the next leg.
Backpack capacity uses inventory slots, and a larger pack does not slow you down. Read a pack's tooltip to compare capacity, then right-click a larger pack in your inventory and choose EQUIP. Backpacks provide carrying space without cold resistance or armor, so keep your clothing needs separate from your storage upgrade.
At Horizon, Robyn's reward box provides the Survivor's Backpack as an early upgrade. Equip it when you collect it, then use the added room for whatever your route needs. Leave items you do not need for the expedition in storage at your base so you have space for the return haul.
Prepare the stretches you still need to walk
Carry prepared food, gathering tools and enough fuel or materials to create heat along your route. Cook meat at a lit campfire before leaving, since eating it raw can cause the PARASITES effect. Choose a clear expedition objective and leave yourself supplies for the return journey.
Cold Zones contain extreme cold, and a banner tells you when you enter one. Keep excursions short and check for a No Build Zone before expecting to place a heat source inside. Prepare a retreat toward shelter before entering, and turn back when the outing starts consuming the reserves you meant to bring home.